Preferred delivery services
Preferred delivery services
Offer DHL Paket preferred delivery options so customers can select their preferred delivery day and location. If a customer provides their home address and a preferred location or neighbour, the parcel can be delivered while they are away. Shipments can also be delivered to Packstations, post offices, and parcel shops. The CarrierService API is required.
Some features require the Shopify CarrierService API. It can be added to the Shopify plan for an additional fee and is included automatically in the Advanced and Shopify Plus plans.
The CarrierService API cannot be added to the Basic plan; the plan must be upgraded instead.
To upgrade a plan or add the service, contact support@shopify.com.
Step 1
Select Apps, then select the Post & DHL Shipping app. On the dashboard, select DHL Paket.
Step 2
Select Preferred delivery in the sidebar.
Step 3
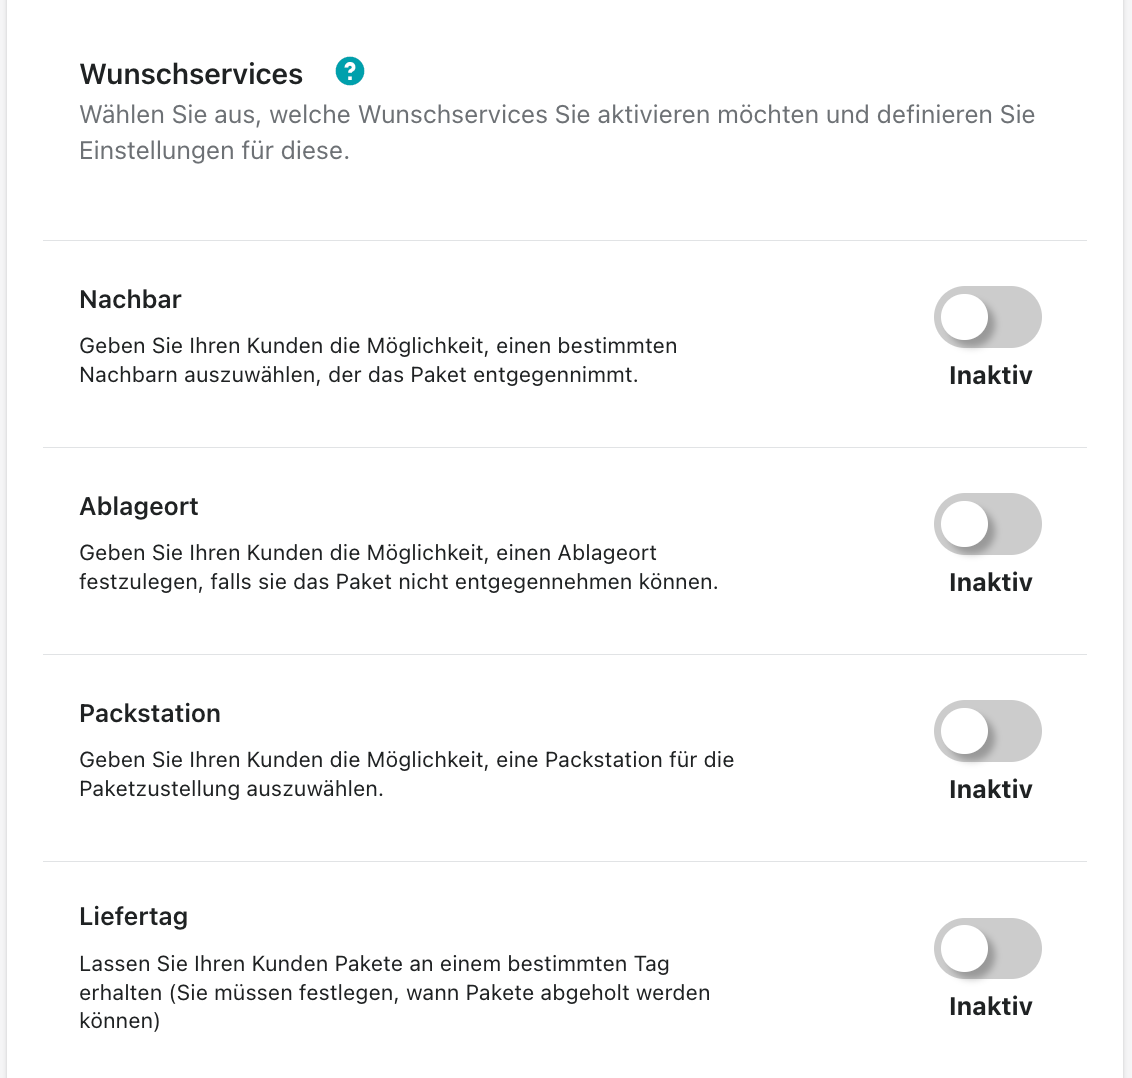
Select Activate to enable preferred delivery services. Checkout rates are required for this feature. They are not required if Packstations are entered through Shopify's address fields.
Step 4
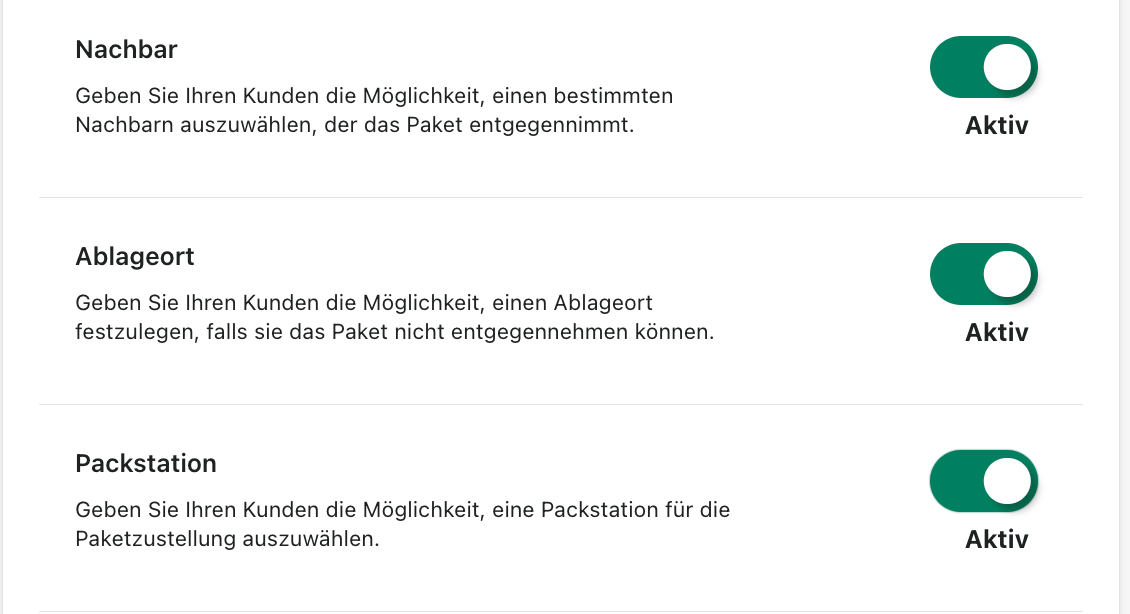
Preferred neighbour lets customers choose a specific neighbour to receive the parcel.
Step 5
Preferred location lets customers specify a safe location where the parcel can be left if they cannot receive it in person.
Step 6
Packstation lets customers select a Packstation to which the parcel should be sent.
Step 7
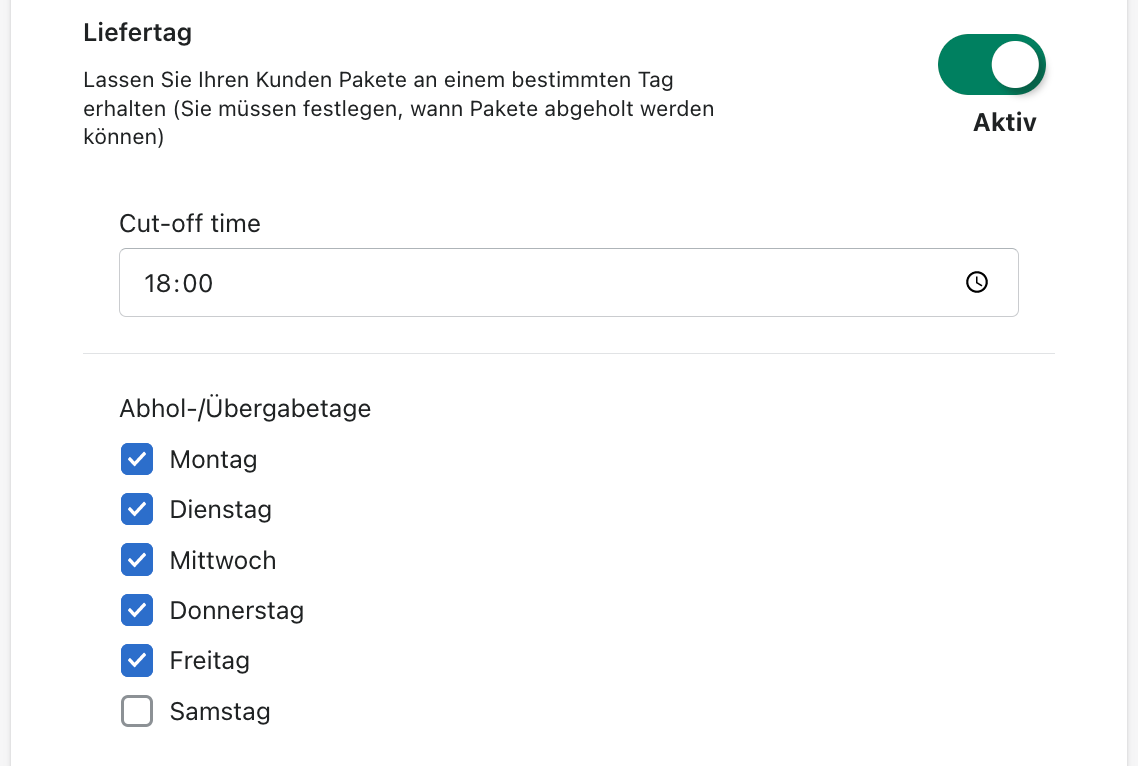
Preferred day lets customers select a delivery day. Define the days and times at which your parcels can be collected—for example, every weekday at 18:00.
Enter a Packstation through Shopify
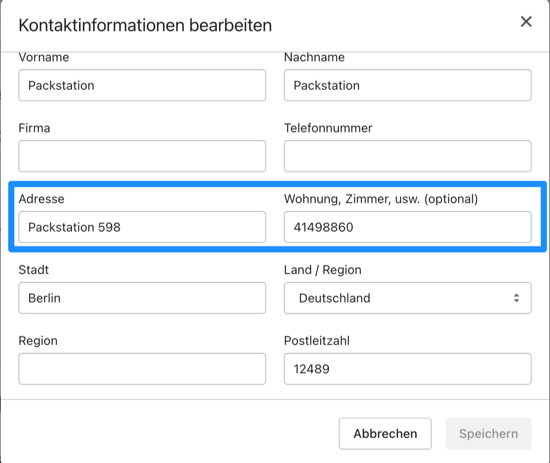
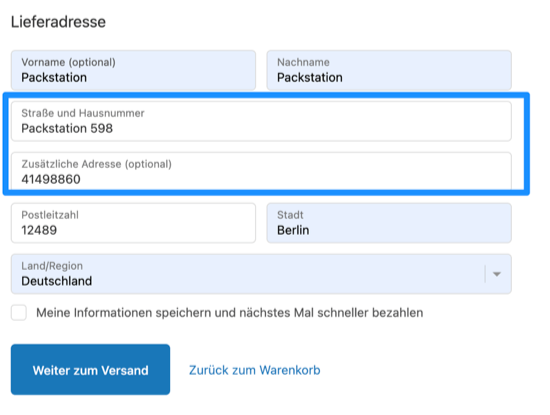
Enter the Packstation correctly in the address fields as follows:
- In
Street and house number, enter Packstation + number, for examplePackstation 598. Always include the word Packstation, including when the destination is a post office or similar location. - In
Additional address, enter the Postnumber, for example1234567890.
The customer sees the following fields:
Checkout rates
Step 1
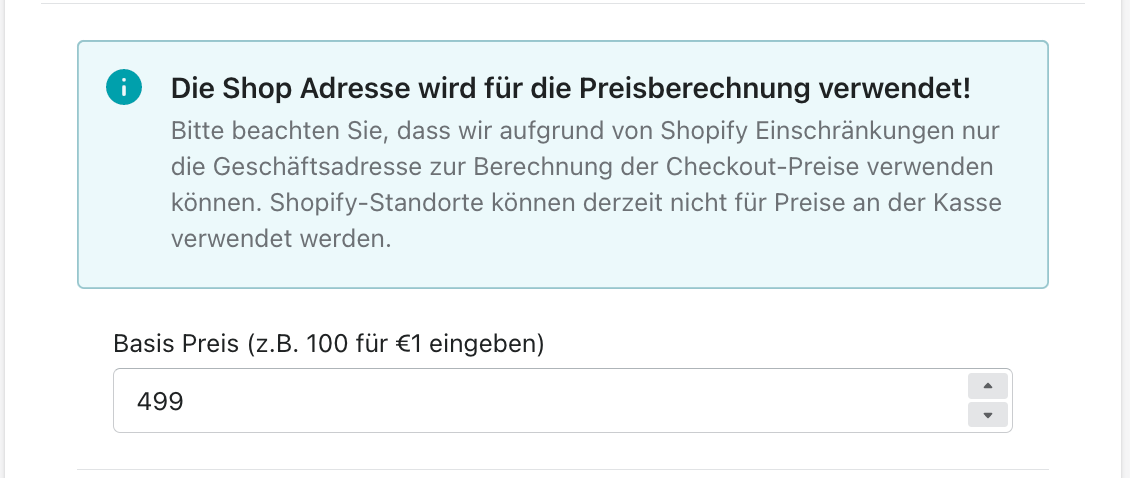
After activating the feature, define the base price for parcels.
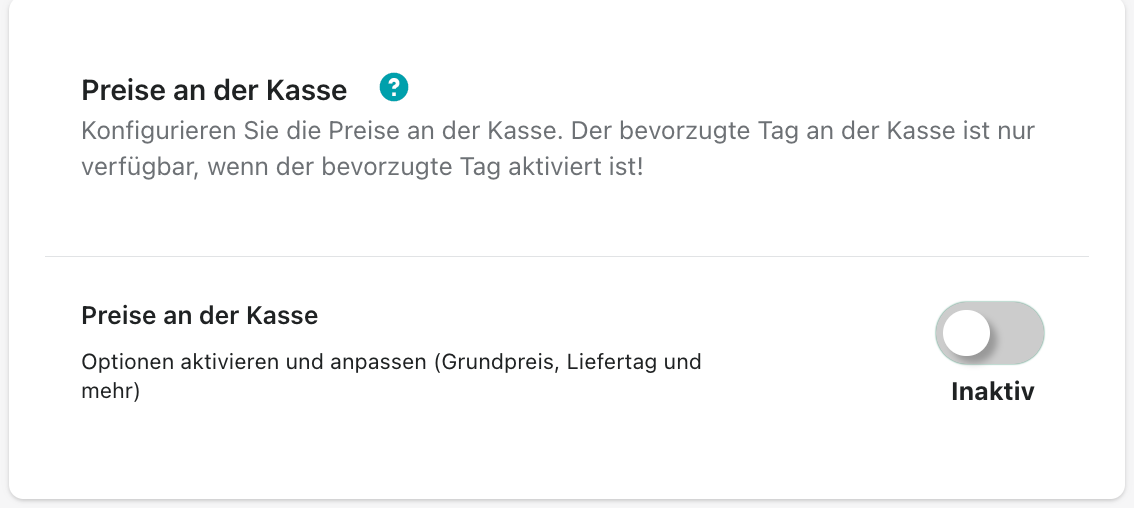
In this example, EUR 4.99 is entered as 499, because 100 represents EUR 1.
Step 2
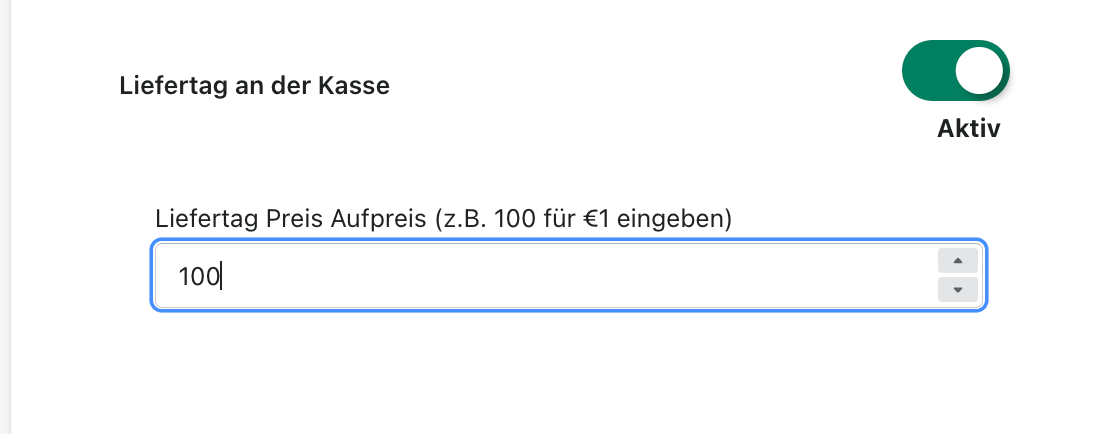
You can also define a surcharge for Preferred day. In this example, EUR 1 is entered as 100.
Step 3
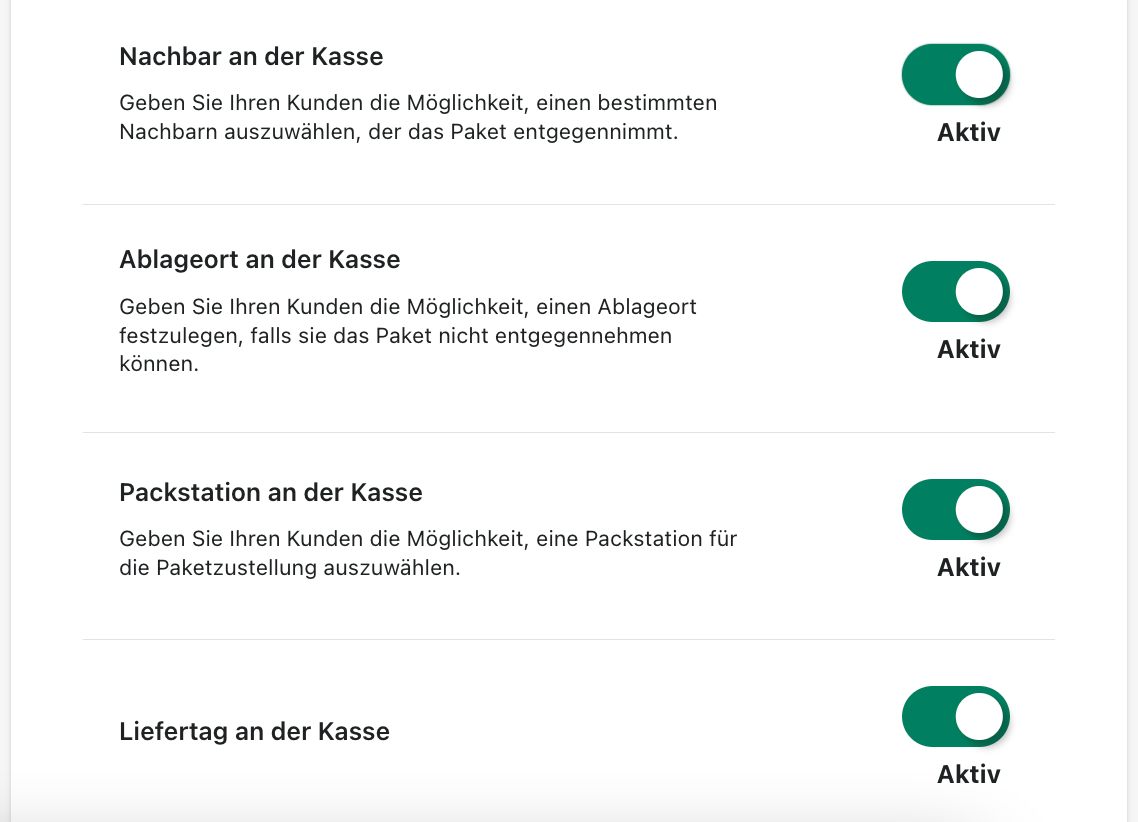
You can also activate Preferred neighbour and Preferred location.
Step 4
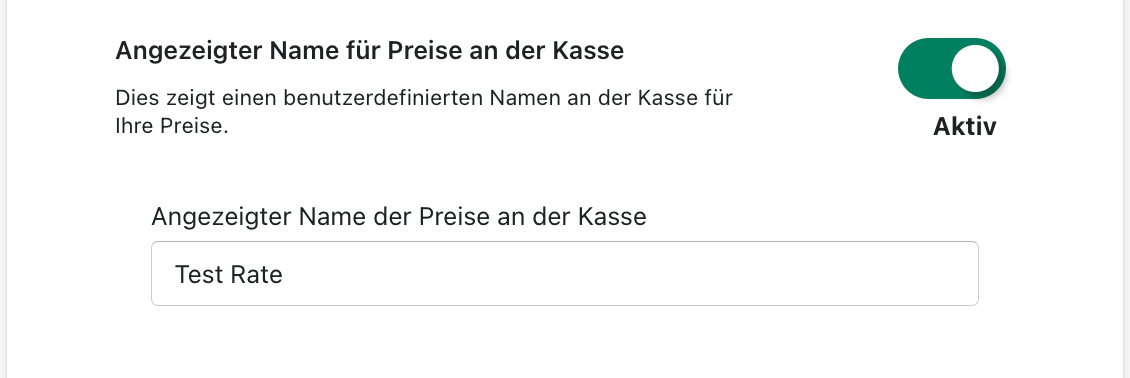
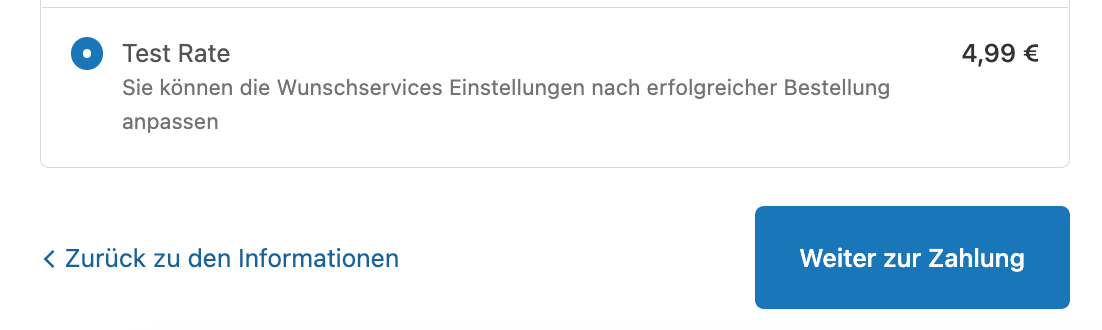
Activate Displayed name for checkout rates and enter a custom name in the additional field.
Step 5
The checkout then looks like this:
Remember to save all changed settings.
The Post & DHL Shipping app lets you define only this single price and does not provide calculated rates. Calculated rates can be configured in Shopify. See the Shopify shipping rates documentation for detailed instructions.
Create labels with preferred delivery services
Preferred delivery services selected by the customer at checkout are applied and displayed automatically. Changing them here overrides the customer's selection.
Step 1
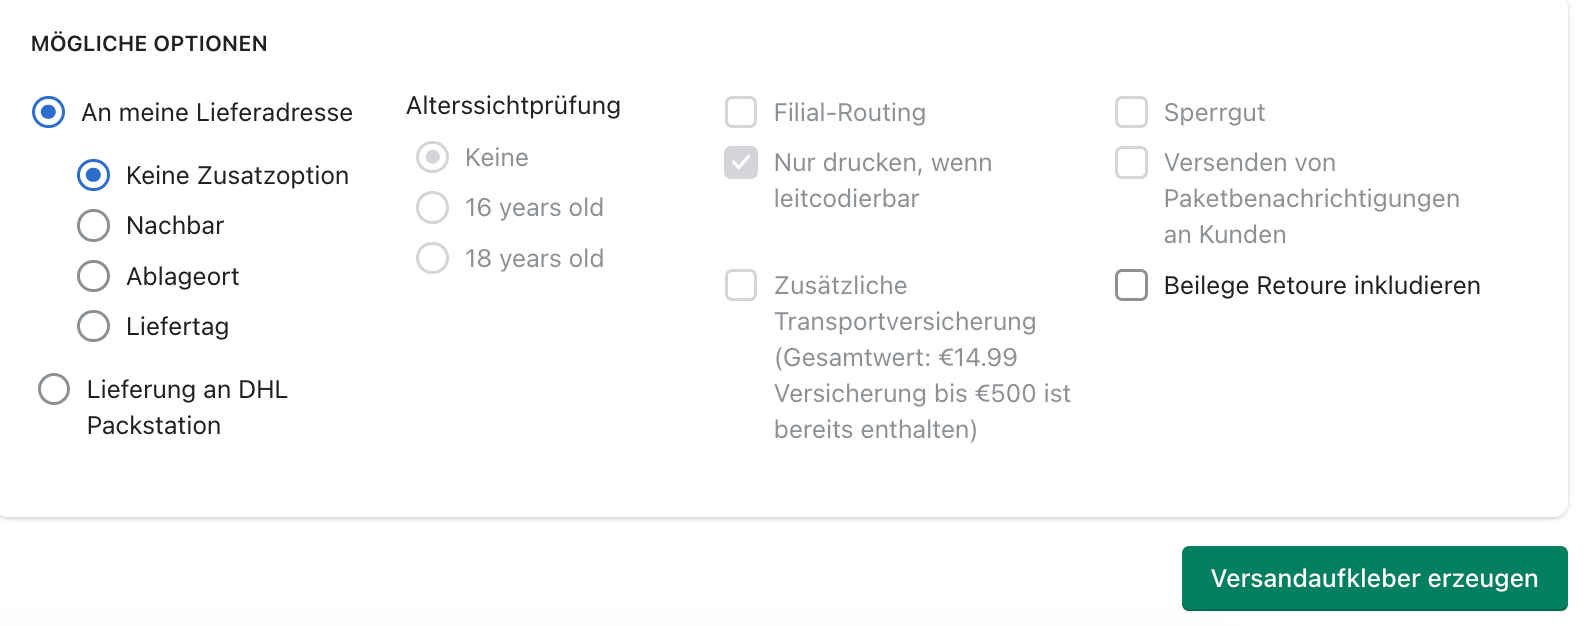
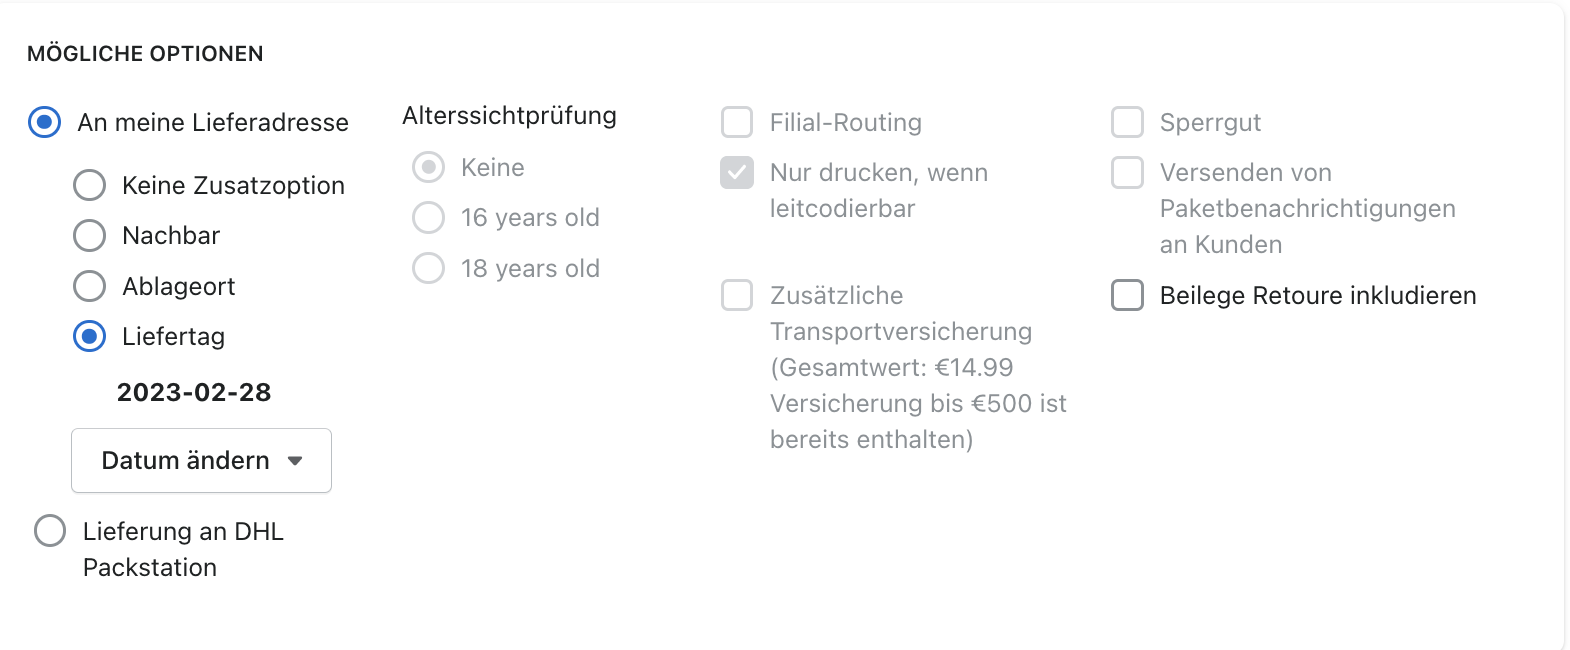
After activating these features, the corresponding options appear during label creation.
Step 2
Select the enabled preferred delivery services as required.
Step 3
If a customer selected a preferred day, it is shown during label creation.
Step 4
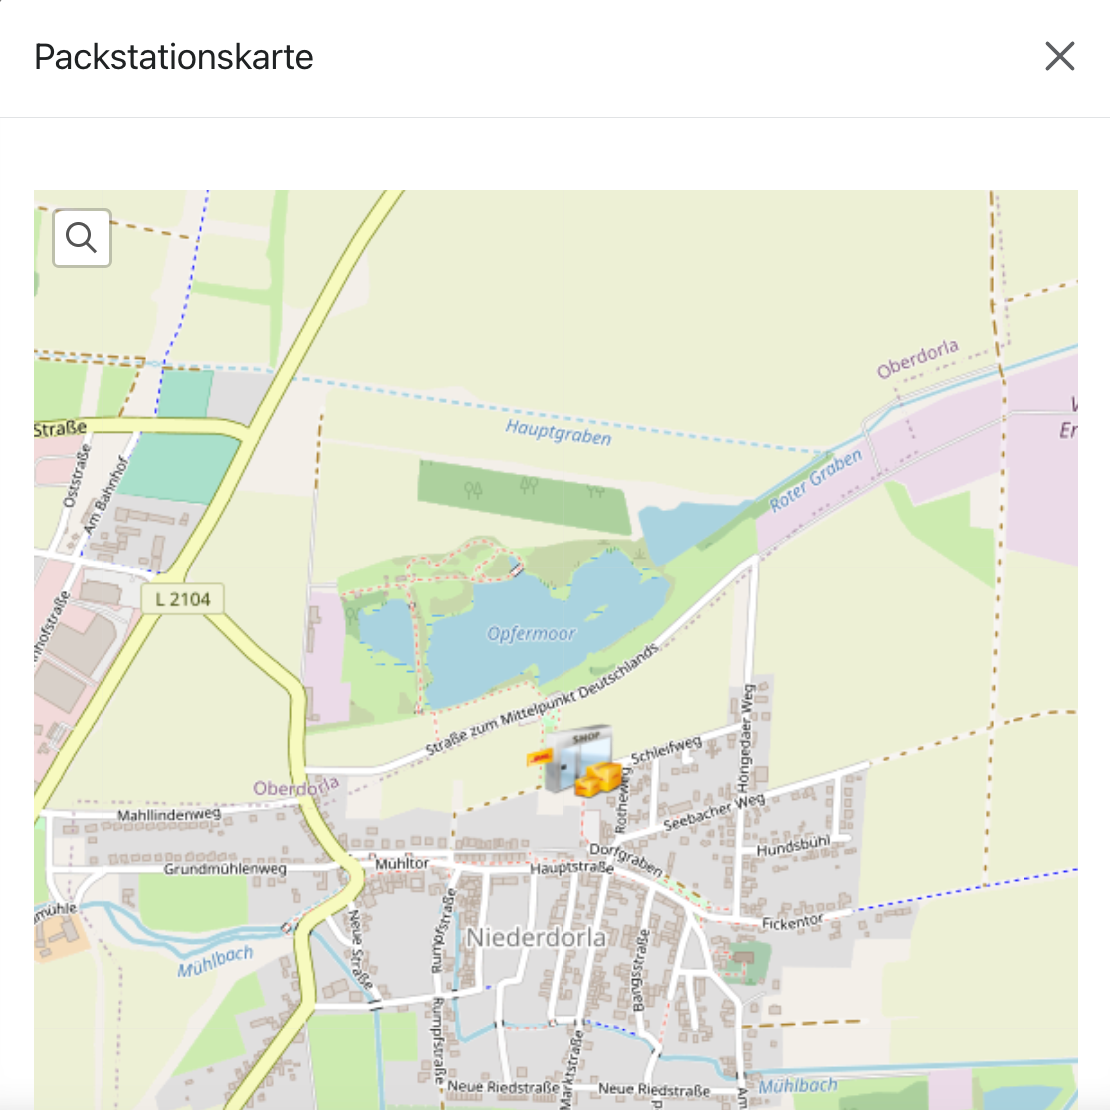
You can also select a Packstation for delivery.
See Preferred delivery services from the customer's perspective for the customer view.